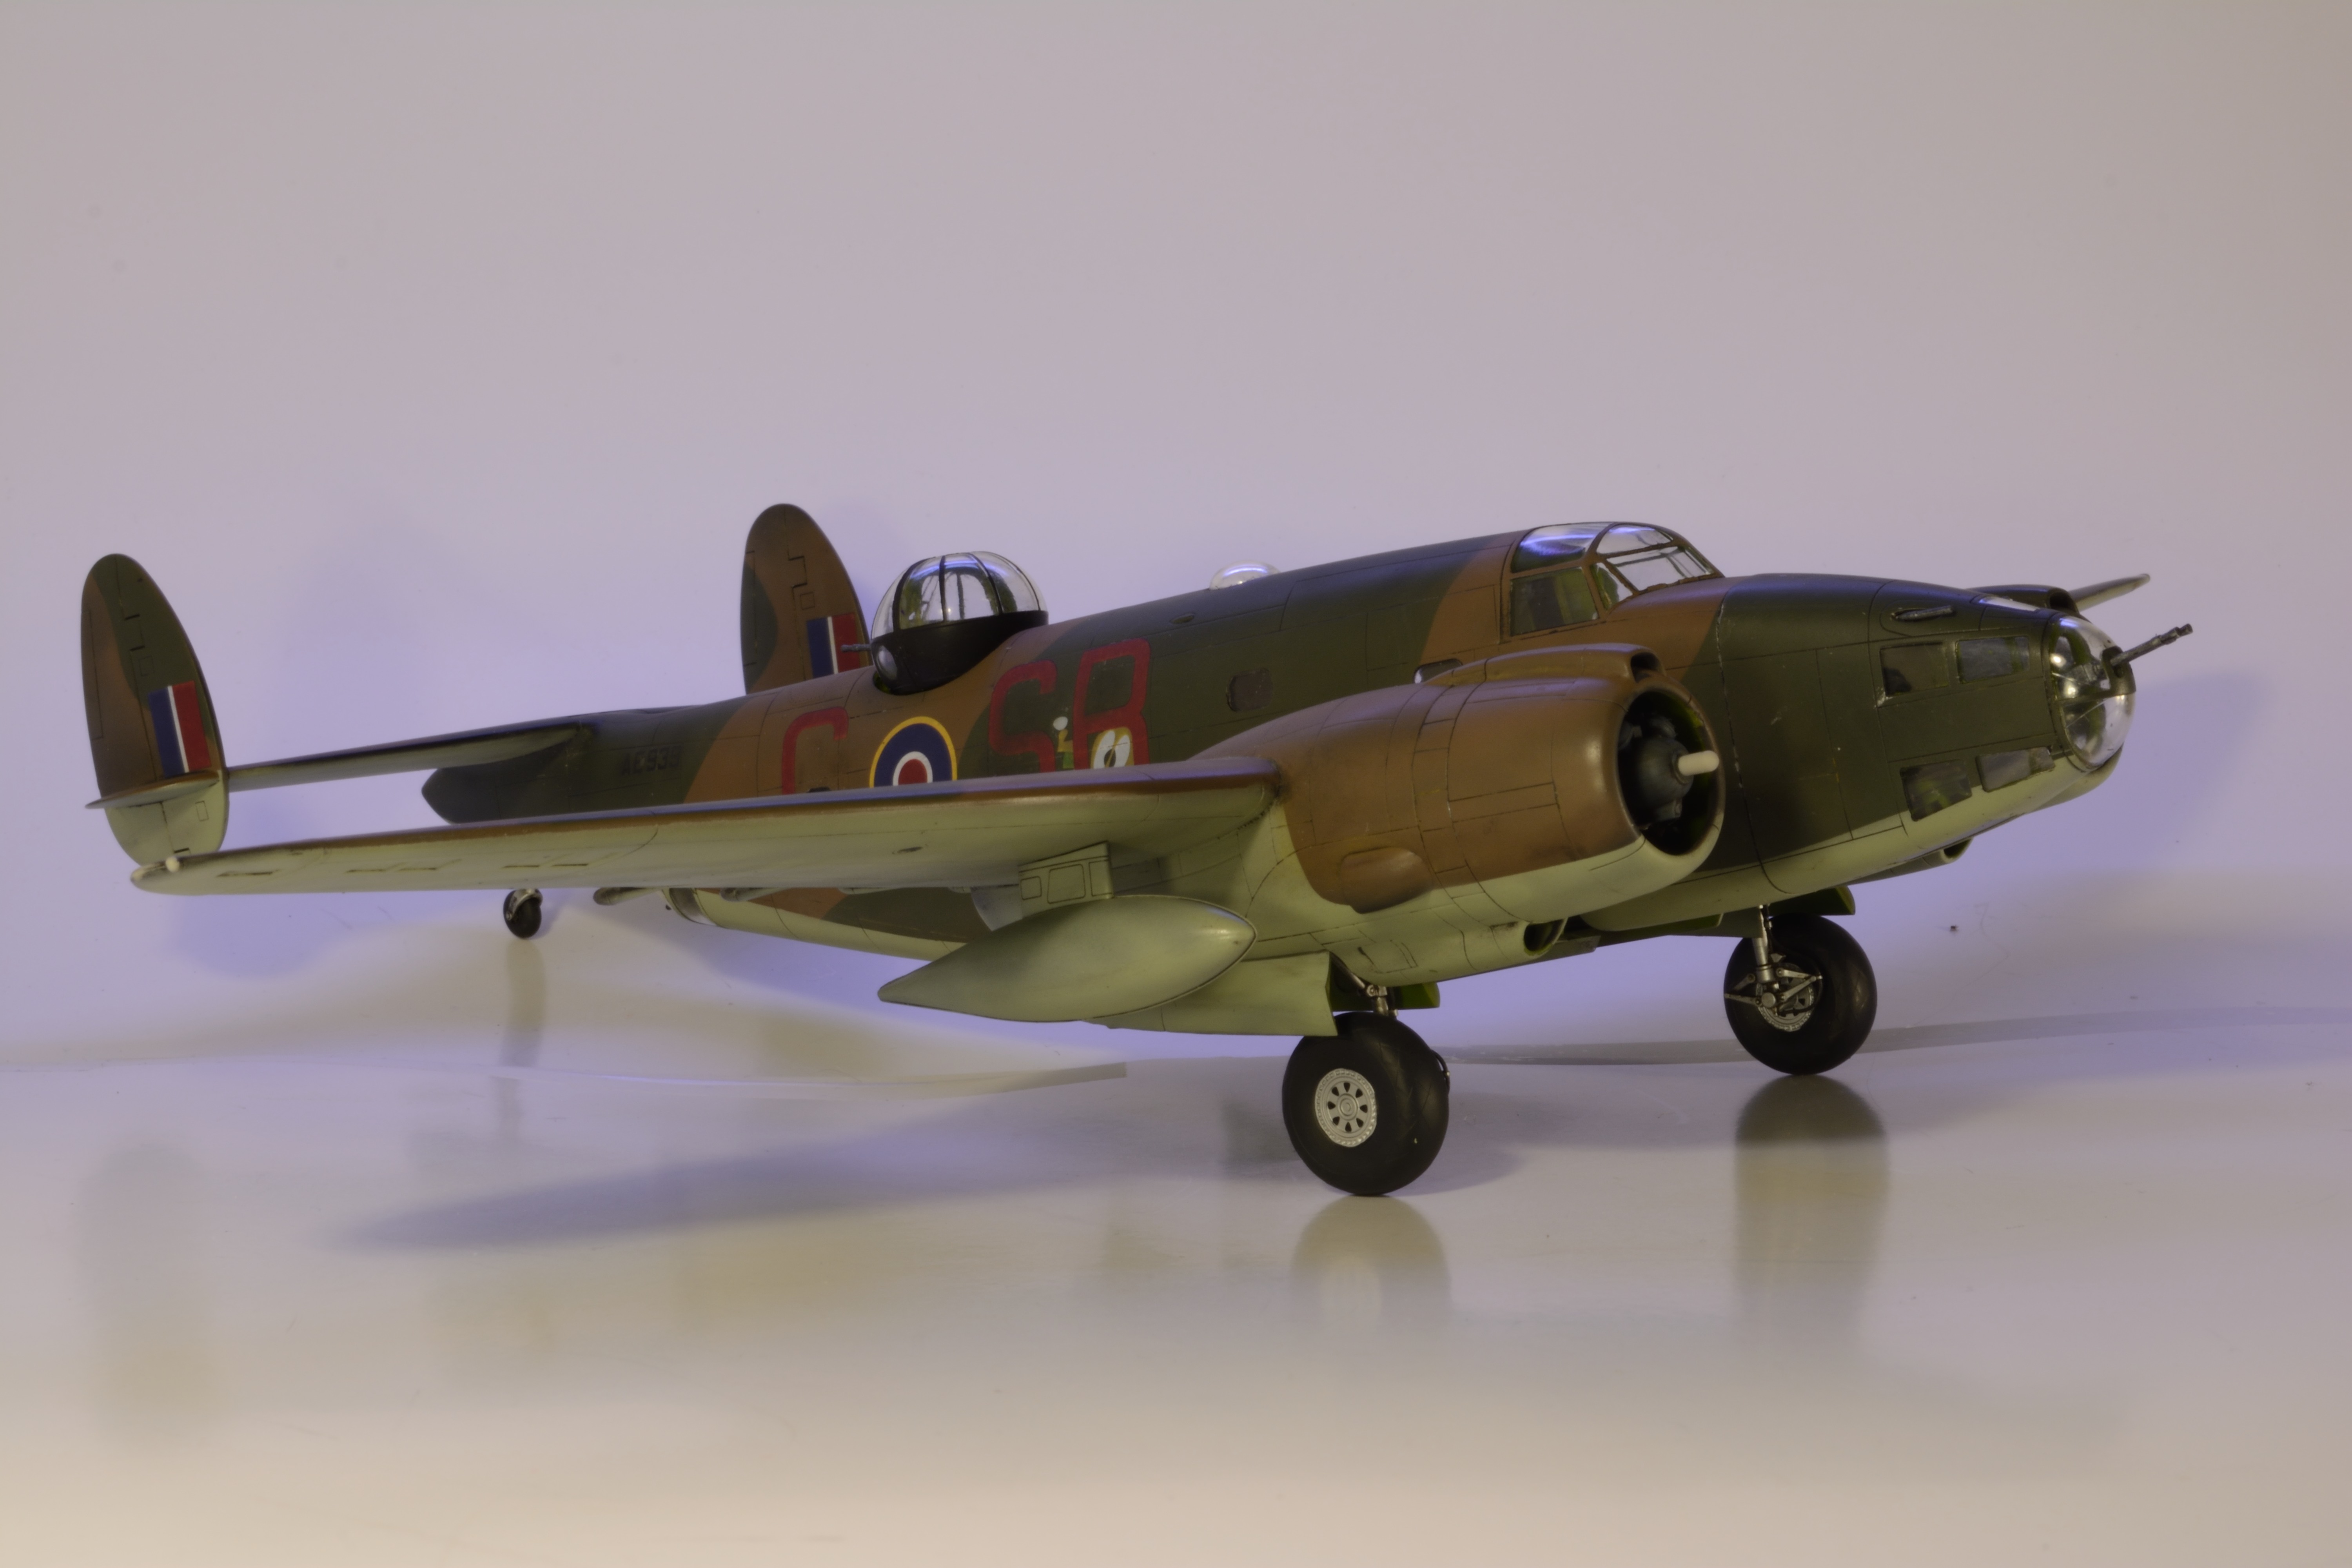
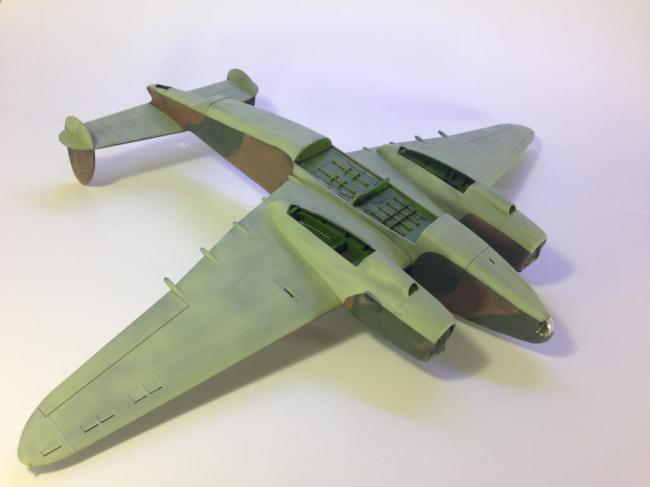
The Ventura is reaching the finish line. I’ve done a Dark Dirt Flory wash followed by a dullcoat. After that was done I began to throw the fiddly bits onto the model. The end is very near for this one.
The Ventura is reaching the finish line. I’ve done a Dark Dirt Flory wash followed by a dullcoat. After that was done I began to throw the fiddly bits onto the model. The end is very near for this one.
A collection of pictures from the Lone Star Flight Museum including an impressive diorama of Lady Be Good.
More shading work on the belly of the Ju-88.

My traffic here has steadily been increasing over the past several days. Thank you everyone for stopping by and
taking a look. I am still working (when not working in real life) to make the blog and Facebook page something that people will benifit from and enjoy. Please continue to stop by and please click “like” it’s simple and it really helps :).
Thanks everyone!!
Hang around enough online communities for a while and you will occasionally see new modelers swinging by to get a perspective on the “best manufacture” or “best kits” for beginners. Often times this budding plast-i-holic is looking for something at a reasonable price level with good fit.
Inevitably, someone pops in to suggest that the builder begin with the older and less expensive Revell/Monogram kits…the ones commonly referred to as “vintage kits.”
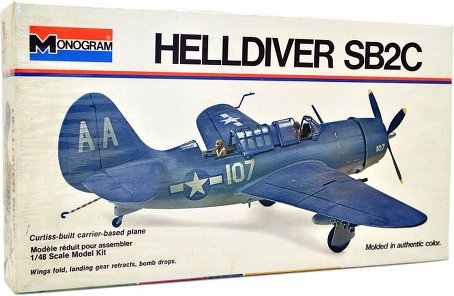
The idea here is that if you can build a kit with the fit challenges many of these have, you should be able to move on to more expensive kits by the likes of Tamiya or Hasegawa. I believe when people make these recommendations their biggest driving force is kit price. After all, a lot of these kits can be had dirt cheap; the idea seems to be that it’s less of an investment if you screw up. However, this only takes into account the investment in money. Money simply isn’t the only investment a new modeler makes when selecting a first kit.
The monetary outlay for the kit is just one of the investments the new builder makes. The others include time, energy, and also a bit of psychological vulnerability. Failure can be extremely demoralizing. As someone who has been at this hobby a long time I’ve had my share of failures and kit’s I’ve had to toss out because of mistakes or just horrible moldings, etc. These builds gone wrong always have the same effect; they make me back away from the bench for a bit.
Being seasoned, I’ve developed the proper mindset to reorganize myself and try again with something new. But this wasn’t always the case. As a young builder I pushed the hobby aside many times because I had yet to have a success…or completion that was satisfactory. But when it happened it was glorious.
I think the ability to look past failure and regroup when a bad kit goes bad is a fundamental skill the new builder doesn’t have. Handing them a Revell-o-gram P-61 (a notoriously horrible kit) is not going to build confidence. At best – having limited skills at filling, sanding, shimming, repairing lost panel lines – the builder will come up with something they are barely satisfied with. The consequences at the other end of the spectrum are far more severe in my opinion. Failure could cause the new builder to walk away from the hobby entirely, and that is never something any of us want to see happen.
My theory here is that the builder should start with kits that fall into the “sake-n-bake” category – as us more war weary builders have labeled them. The idea here is simple. Positive reinforcement is always better than it’s negative counterpart. You’re much more likely to be successful at getting the kit assembled. Remember, you also have other new skills to develop to pull off your first build: painting, decals, clear coats, and perhaps weathering.
I see no reason to add the difficulty of having to hack and slash a bad fitting kit together. You’re going to need to develop the feel for how fillers work and how to blend them into the plastic. This can be done easily enough on join seams. You don’t need to build up a huge step at an engine nacelle or wing join on your first build.
Actually, I think the new builder needs to get several of these “shake-n-bakes” under their belt and slowly progress to more complicated builds. If I’m being honest, I still don’t feel like I am ready to move on to some of the more seriously challenging kits that are out there.
All this being said, what is the “best” first kit? Well honestly the answer isn’t that simple. It comes down to many things: what scale do you want to build? What genre? And so forth. A common recommendation is to start with WW2 fighters because generally they are easier all around. That’s all fine and good unless you have no interest in that subject matter. You can’t force yourself through any build you’re less than enthusiastic about; no matter your skill level.
So where am I going with this? It’s simple really. Decide what you want to build and do some research. The internet is a wonderful thing and with the growth of modeling communities you can find information on the build-ability of just about any kit you may have your heart set on. It’s much easier for us veterans to recommend say a P-51 kit than it is to tell you the “best kit” for a beginner.
Now, I will say that (most) of Tamiya’s range of 1/48 fighters is an excellent place to start. The Corsairs, P-47s, P-51, and 190s and 109s are all easy kits to build and a great place to start if that’s your cup of tea.
The under-surface RLM 65 is underway. Mr. Color applied in a patchy manner and then overshot highly thinned down to blend. More to follow.

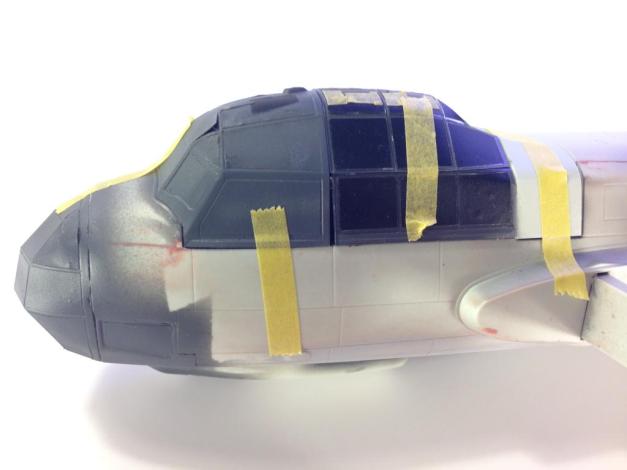
I’d much rather have just about any other issue than an undersized clear part. I’ll have to shim this with styrene. Getting the shape of the framing will be fun for sure.


