For the purposes of this mini-review the only comparisons I can make with this product are to that of Tamiya’s because those are the only two I’ve used in over a decade; however, my intent here is not to go after Tamiya’s product, but just to outline the positive benefits of automotive glazing putty. I don’t suggest that this is the only product out there that works, but I think if you tried it you would find it to your liking.

Price: The Tamiya putty seems to be hovering around $3.50 to $5 online for a 32 gram tube (that’s 1.13 ounces). The 4.5 oz. tube of Bondo pictured above is around $6 in an online search. Other modeling specific putties are equally “expensive.” A tube like the one pictured should even last a vintage Revellogram builder a good long while.
Drying Time: Bondo wins here easily in that it is dry enough to sand within an hour or less. It’s been eons since I’ve actually pulled out the Tamiya putty, but I know for a fact that it can take as much as over night to dry. Thinning Bondo will actually help the drying time too. Let’s talk about that.
Thinning: Bondo is lacquer based and as such can be cleaned and thinned with lacquer thinner. If you are someone who likes to apply putty and then wipe away excess with a cleaning agent (acetone in Tamiya’s case) then you can use a lacquer thinner to do so here. I suspect acetone would work too. I would, however, suggest you use a hobby specific thinner like Tamiya, or Gunze. Hardware store thinner is fine for thinning for application, but I’d worry about it hazing and damaging the bare plastic. (Ask me how I know)
Having discussed thinning, I’ll now say that I really don’t see the need to thin it most of the time. My method of application is to tape off around what I intend to fill and use a finger cot to apply the putty into the spot; leveling it out and pressing it in as much as possible. I then remove the tape and allow the putty to dry. Within 45 minutes I am sanding away.
Feathering: Bondo’s feathering ability is what makes it so good at repairing automotive finishes as is it’s ability to be polished down to a near high shine. I’ve had multiple occasions of Tamiya putty chipping away at the edges instead of feather into the surrounding plastic. If you start out with a medium grit abrasive and work your way down to a polishing stick you can get a glass smooth surface that will be ready for paint.
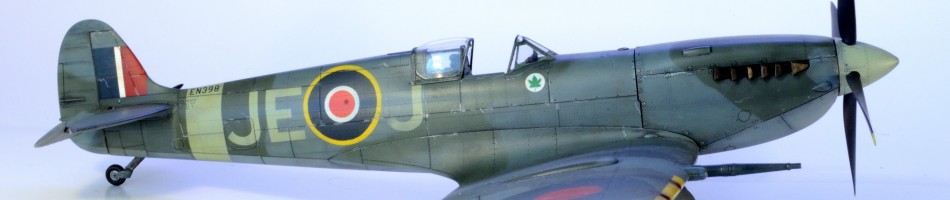
Fortunately for me, Eduard’s Bf 110 C has such a horrible engine nacelle fit that I was able to truly appreciate how nice this stuff works. It isn’t pretty, but I assure you the transition from putty to plastic is baby butt smooth:

Shrinkage: Bondo doesn’t shrink. The End. Don’t mistake the need for a second application as shrinkage. It seems that in about 50% of cases I need to add a second application. It seems like sometimes when the putty has been sanded down there is a very faint trace of whatever was filled; an impression. However, I’ve not once had to use a third application. Ever.
Scribing: Scribing over and through this product is a bit easier than with other putties I’ve tried too; though some care is needed. First, allow the putty to dry a bit longer. You can still sand down to level, but if you need to re-scribe a line going through it give it a good few hours to dry. The putty that will set up inside the panel line seems to dry slower and if you run something through it before it’s fully hardened it will chip up. Once it is thoroughly dry you can use a good sharp scribing tool to re-scribe. Look for a blurb on a nice scribing tool very soon.
What Tamiya does is very different. You can get a seam or gap to where you think it’s knocked out and come back a day later and find the putty has shrunken even more into the surface flaw. The very last instance I used Tamiya putty was on a B-17 trying to blend the borders of a clear piece into the surrounding area. I spent a good 3 or 4 days with the song and dance of putty, sand, putty, sand and each time it would shrink. Finally, after who knows how many applications I had the model where I thought things were squared away. I went on to complete the build. When I painted all looked good. A week or two later when I decided to ogle my most recent build to my horror I discovered the putty had shrunk more. That’s about the time I hopped on the forums and found a solution.
Bondo Automotive Glazing Putty. Try it…you’ll like it.
This product can be found online HERE or can be purchased at Auto Zone or most any auto parts store.
